Oogie Boogie Pumpkin Carving Stencil
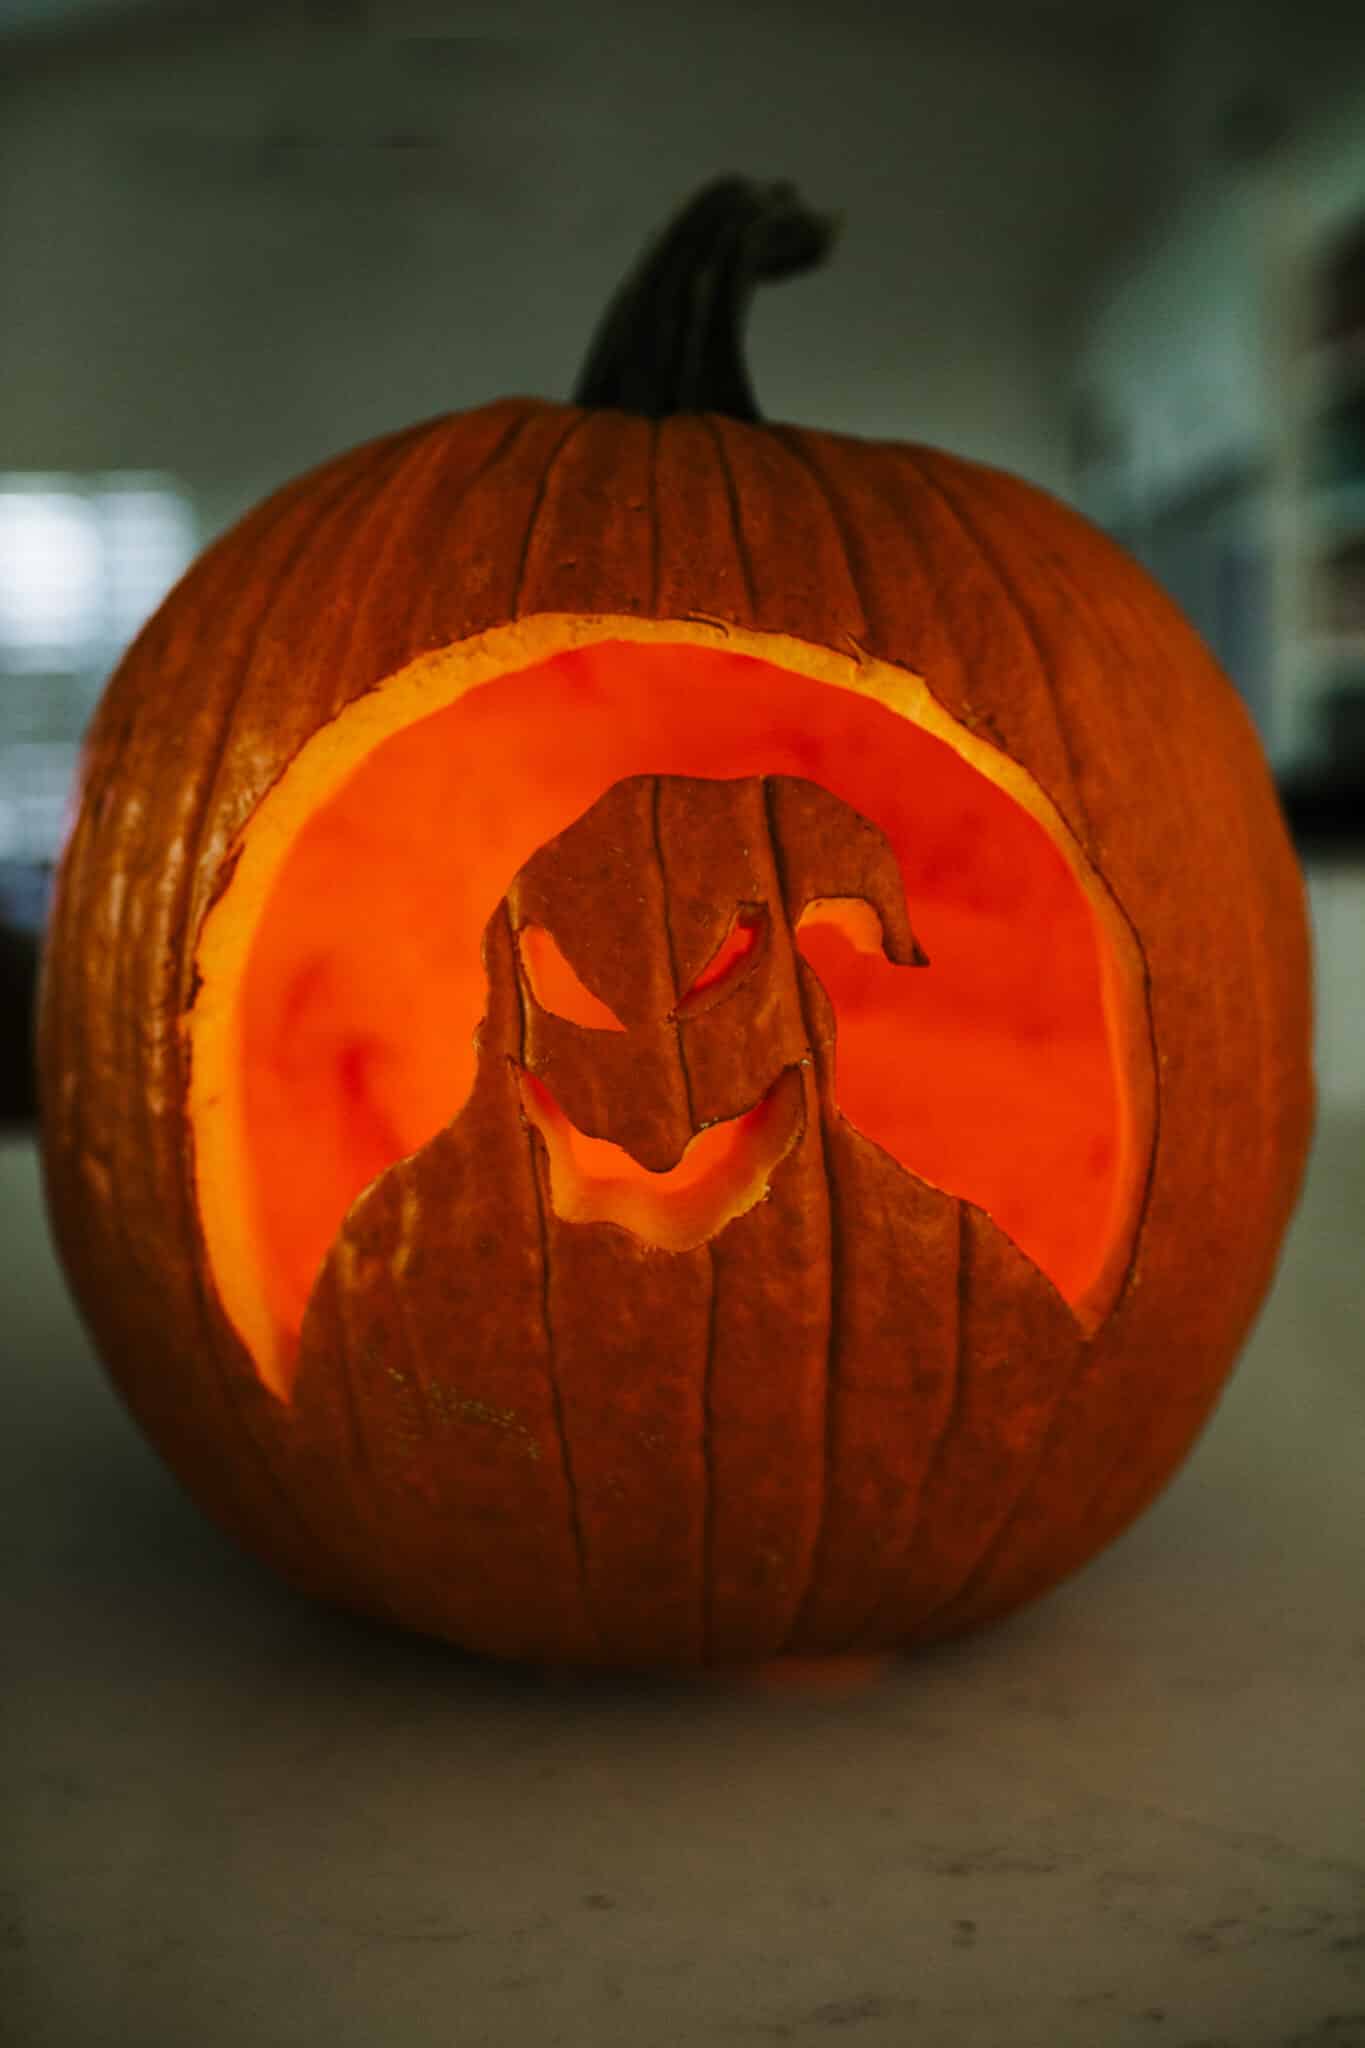
Transform your Halloween pumpkins into one of Disney’s spookiest characters: Mr. Oogie Boogie, with these free Oogie Boogie pumpkin carving templates.

Get ready for a Halloween pumpkin carving night with a Nightmare Before Christmas theme! We not only have the Pumpkin King Jack Skellington pumpkin template, but a Nightmare Before Christmas Oogie Boogie easy pumpkin carving stencil too!
Get ready for a fun activity and favorite Halloween activity filled with some spooky fun! Here’s your guide to take pumpkin carving to the next level with the Disney ghost of Halloween. Make the perfect pumpkin with one of our favorite Halloween printable freebies!
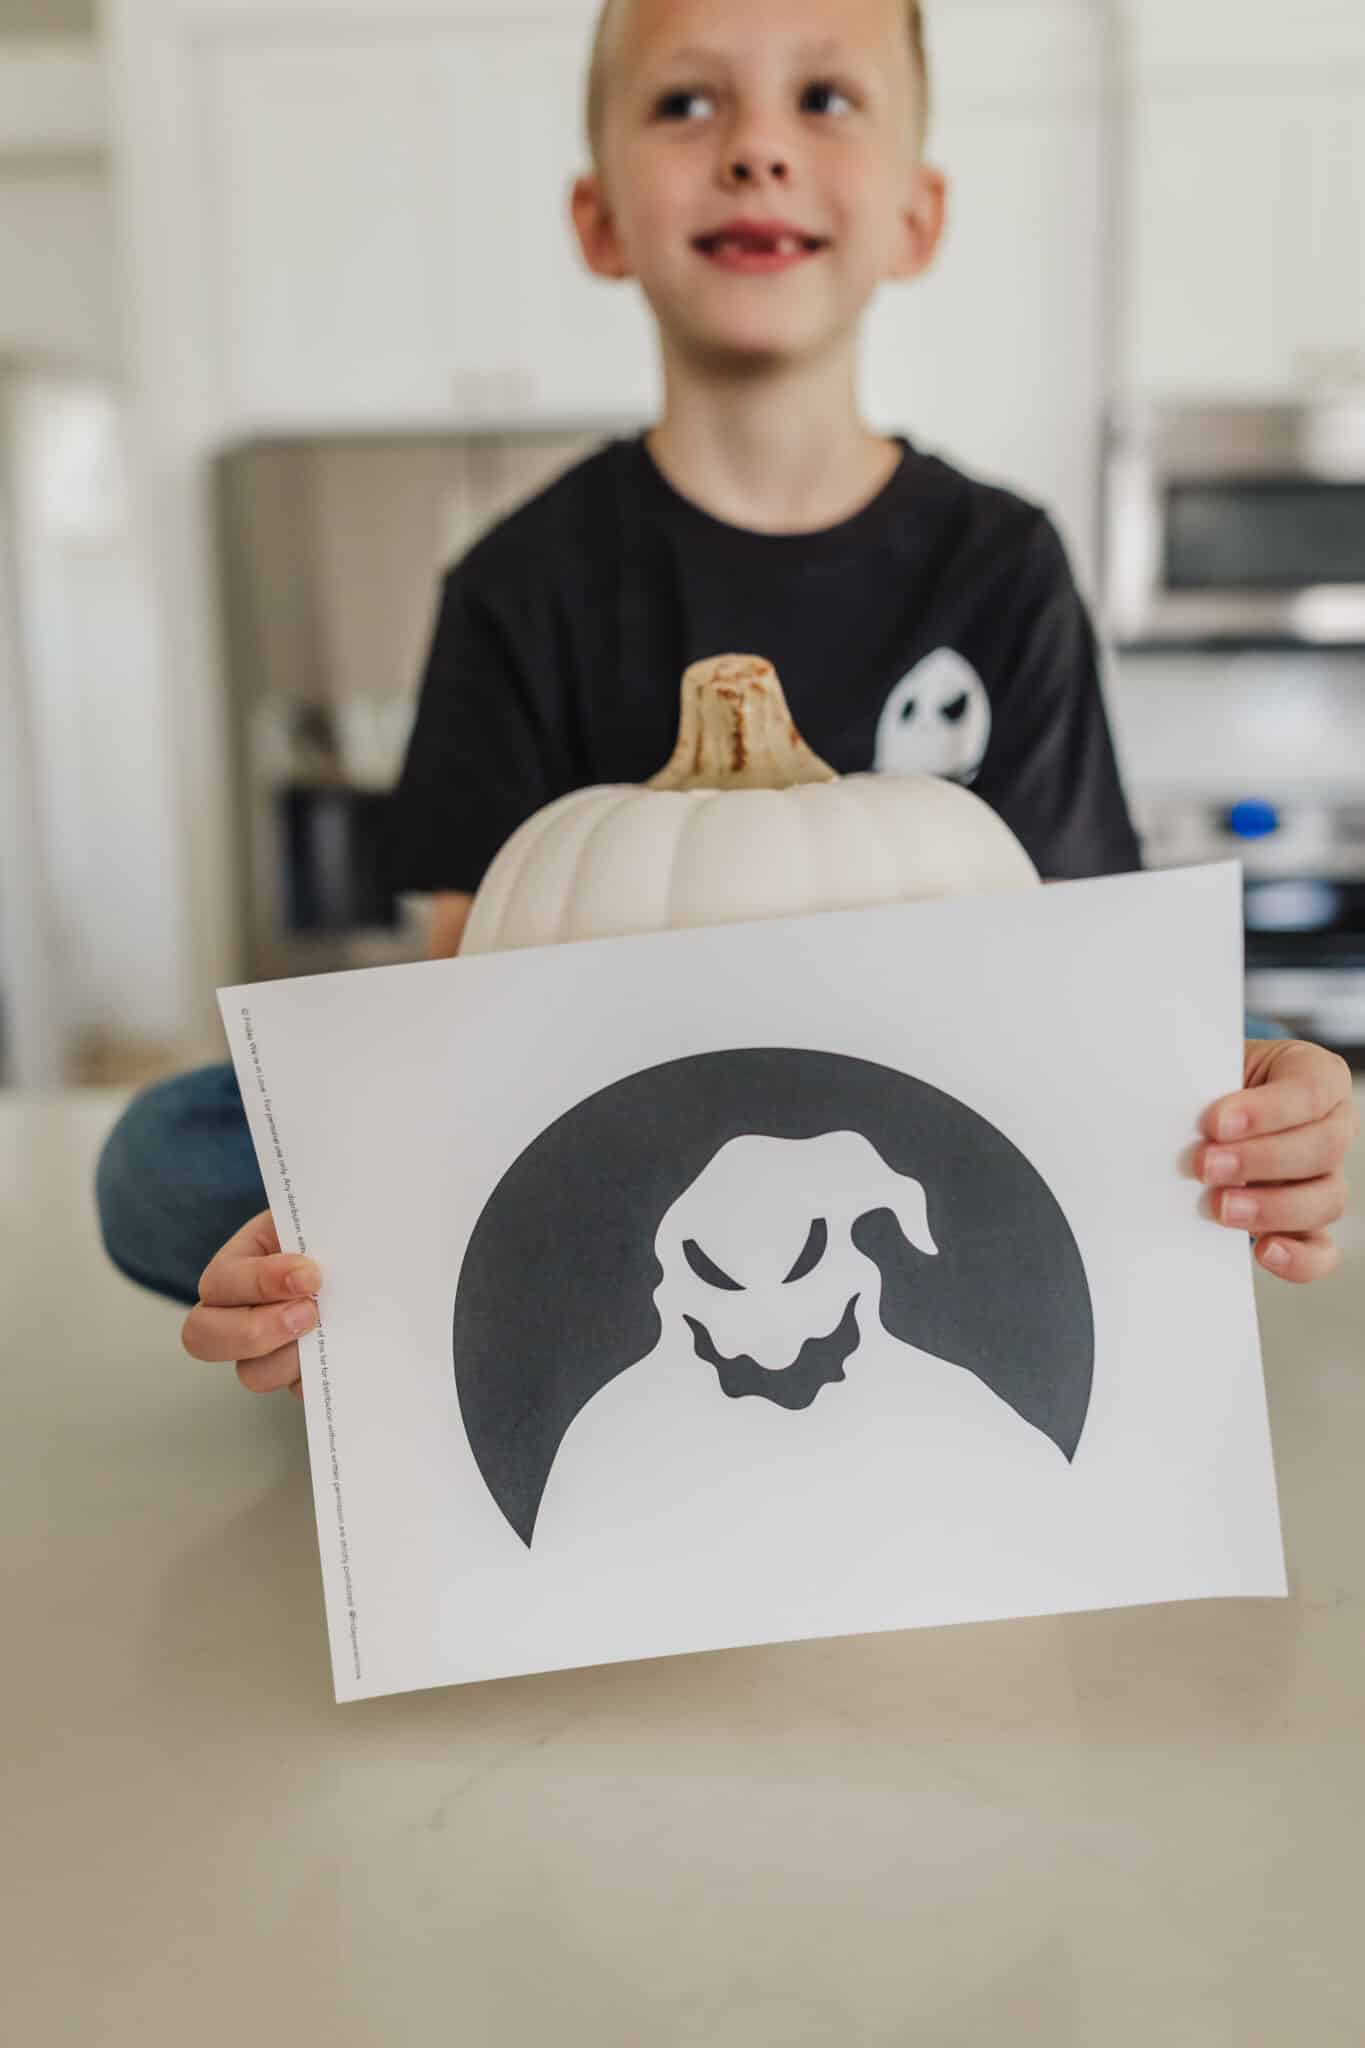
Nightmare Before Christmas Pumpkin Stencil
Of all the Disney villains, Oogie Boogie from the Nightmare Before Christmas movie may just be the best! He’s such a Halloween staple that he even takes over California Adventure and hosts Disneyland’s Halloween party, the Oogie Boogie Bash! You can find his face above CA Adventure all September and October too. He’s clearly a favorite character of the Halloween season.
And that may be why of all the Disney pumpkin stencils out there, we’re a little partial to making the Oogie Boogie man pumpkin stencil selection part of your Halloween decorations.
Grab Your Free Printable Oogie Boogie Pumpkin Carving Stencil Templates Download Here!
Just input your email so we know where to send the free printable stencils!
Note: Many email clients auto-download the printable PDF file after you confirm your email. Be sure to check your Downloads folder whenever you download one of our free pumpkin carving stencils.
*Feel free to use this design for Oogie Boogie pumpkin carving patterns, or painting templates too! If you have a cutting machine (like a Cricut), it makes for the perfect Oogie Boogie stencil for vinyl or to create a painting pattern with!
Pumpkin Template Skill Level
One of the best parts of making one of my favorite Disney characters at Halloween time, is this pumpkin pattern is suitable for young children, and even a beginner carver with a little bit of help! Only the eyes and the point of the head get a little tricky for beginners. We tried to go with simple designs kids and adults alike would have a better experience carving.
Step By Step: How to Carve Pumpkins Using Our Printable Pumpkin Stencils
Step 1: Download the Pumpkin Carving Patterns
Grab our completely free stencils in the form above.
One note: Many email clients auto-download when you confirm your email address. Check your downloads folder for the PDF file for the printable pumpkin craving templates in one file.
Print Your Halloween Pumpkin Templates
Once you have our free patterns, it’s time to print! We recommend you go with what you love! But you may also want to consider the skill level of your carver. Simple design options and easy pumpkin carving ideas for beginners. We try to keep young kids in mind with each of our templates! But a few may need a pumpkin carving kit with a few smaller and specialty pumpkin carving tool options. Just keep in mind what type you’d like and if you have a more advanced or beginner carver and their carving skills.
We also recommend printing what you need on regular copy paper. Thinner paper is better for easier carving and catching the smaller details of a template.
This would also be a good time to turn on our Halloween Songs for Kids Playlist to set a fun vibe!
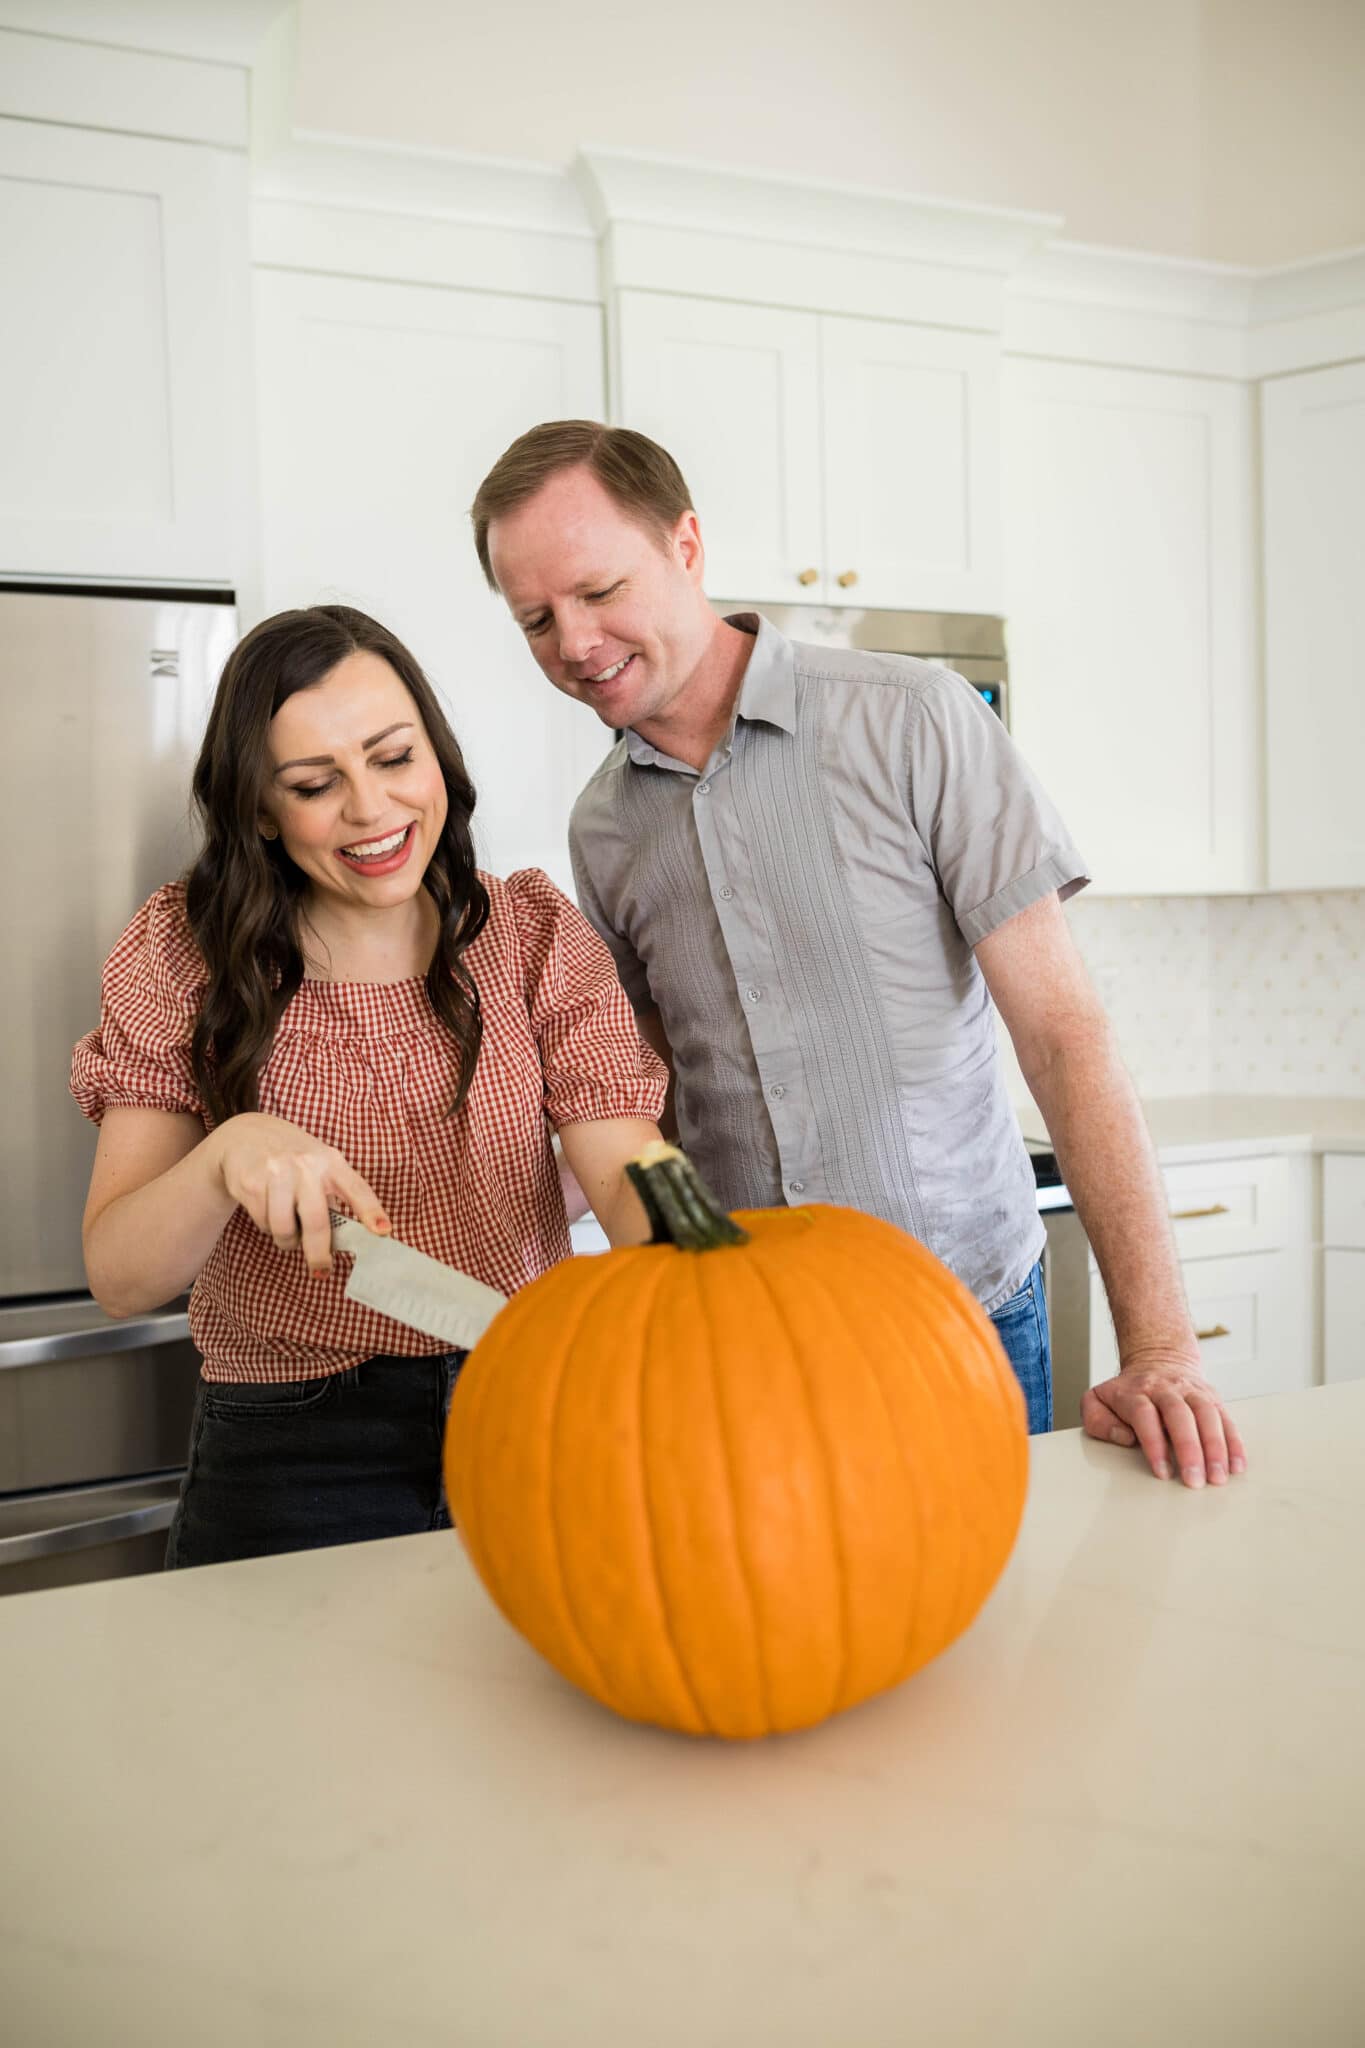
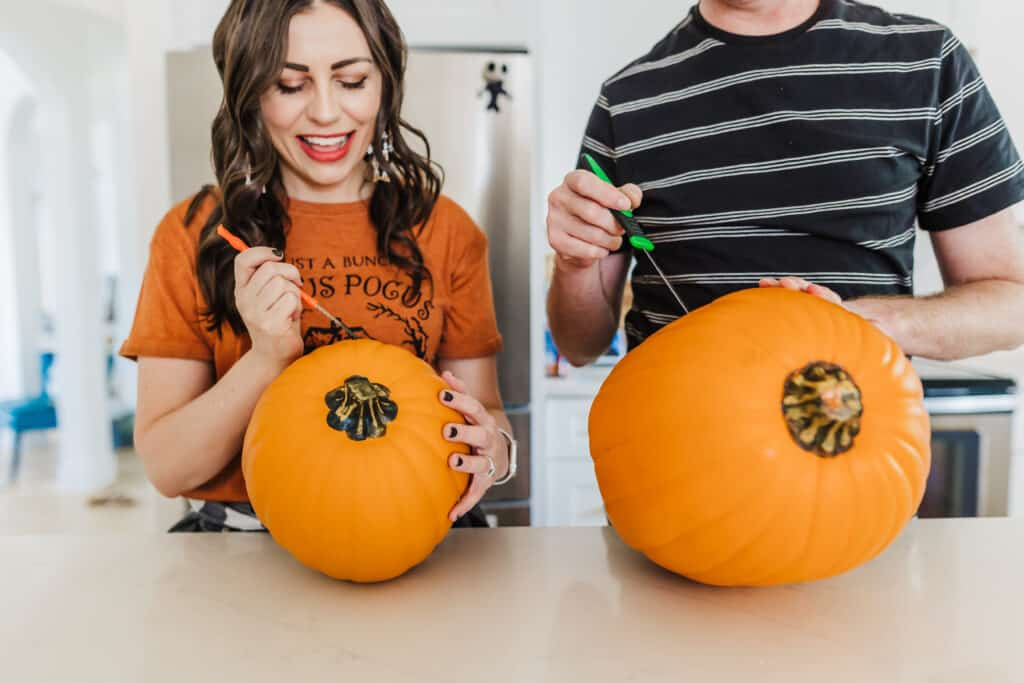
Prepare Your Pumpkin
If you ordered a craft pumpkin from the craft store, your prep work is done! If you’re carving a classic real pumpkin picked from the patch. be sure to clean, scoop, and prepare your pumpkin for carving.
Tape your Pumpkin Face Stencils to Your Pumpkins
A great way to keep your design in place is with simple tape! It’s a good idea to place your design perfectly in place and avoid the common mistake of letting it slip all over your pumpkin. Grab that roll and get it firmly set exactly where you want it.
(Optional) Use a Toothpick to Imprint Your Design
This is one of my favorite ways to make carving even easier and more precise! This trick works particularly well with real pumpkins! We’ve found the best way to make pumpkin carving patterns even easier is to imprint them on the pumpkin. Poke several tiny holes with a pumpkin over the design. That way you have it imprinted on your pumpkin, and it makes carving even easier. From here, you’re set with your pumpkin’s design, and you can remove the paper.
Carve Your Favorite Halloween Image!
Use a sharp knife if you’re an adult, or a kid-friendly, safe knife if you’re having a Halloween party with the entire family. If you like to get fancy, grab one of your favorite best pumpkin carving tools you have on hand. Follow the imprints, or the taped paper if you skipped this step, and carve your design.
Don’t forget to carve a small hole on the bottom that’s just big enough to add your light and light up the inside of the pumpkin.
Illuminate Your Masterpiece
Once your design is etched onto your pumpkin, it’s time for the pièce de résistance: lighting! While traditional candles have their charm, a flameless candle battery-operated tea light offers a safer and more consistent glow. It’s the perfect way to bring your carved pumpkin to life, casting eerie shadows and adding an otherworldly ambiance to your lantern faces and front porch on Halloween night.
We hope you enjoy your Oogie Boogie jack o’ lantern! And don’t forget to pair him with our Jack Skellington pumpkin stencils for a fun theme! Happy carving!
Pumpkin Carving Stencil FAQs
Tape the paper stencil to the pumpkin, and use a thumb tack to trace the pattern poking tiny holes into the pumpkin in the paper stencil design. Remove the pattern and use a pumpkin carving knife to carve the design following the tiny punctures made with the thumb tack.
This depends on the design, so double-check before making any cuts! But a standard pumpkin stencil is meant to have the black elements cut out and removed as the “negative space” you’d cut into your pumpkin.
You have two options:
1. Carved around the stencil and the pumpkin at the same time.
2. Use a thumb tack to “trace” the design edges and create tiny holes in the pattern on your pumpkin. You will then use the holes as the guide to carve your pumpkin.
Take the freebie Ooogie Boogie printable and print it on a larger scale on your printer. You can play with the size and print it to fit larger pumpkins and smaller pumpkins alike.