Easy Halloween Dirt Cups Recipe
Halloween dirt cups are about the easiest Halloween dessert, and make fun spooky treats kids and adults alike love!
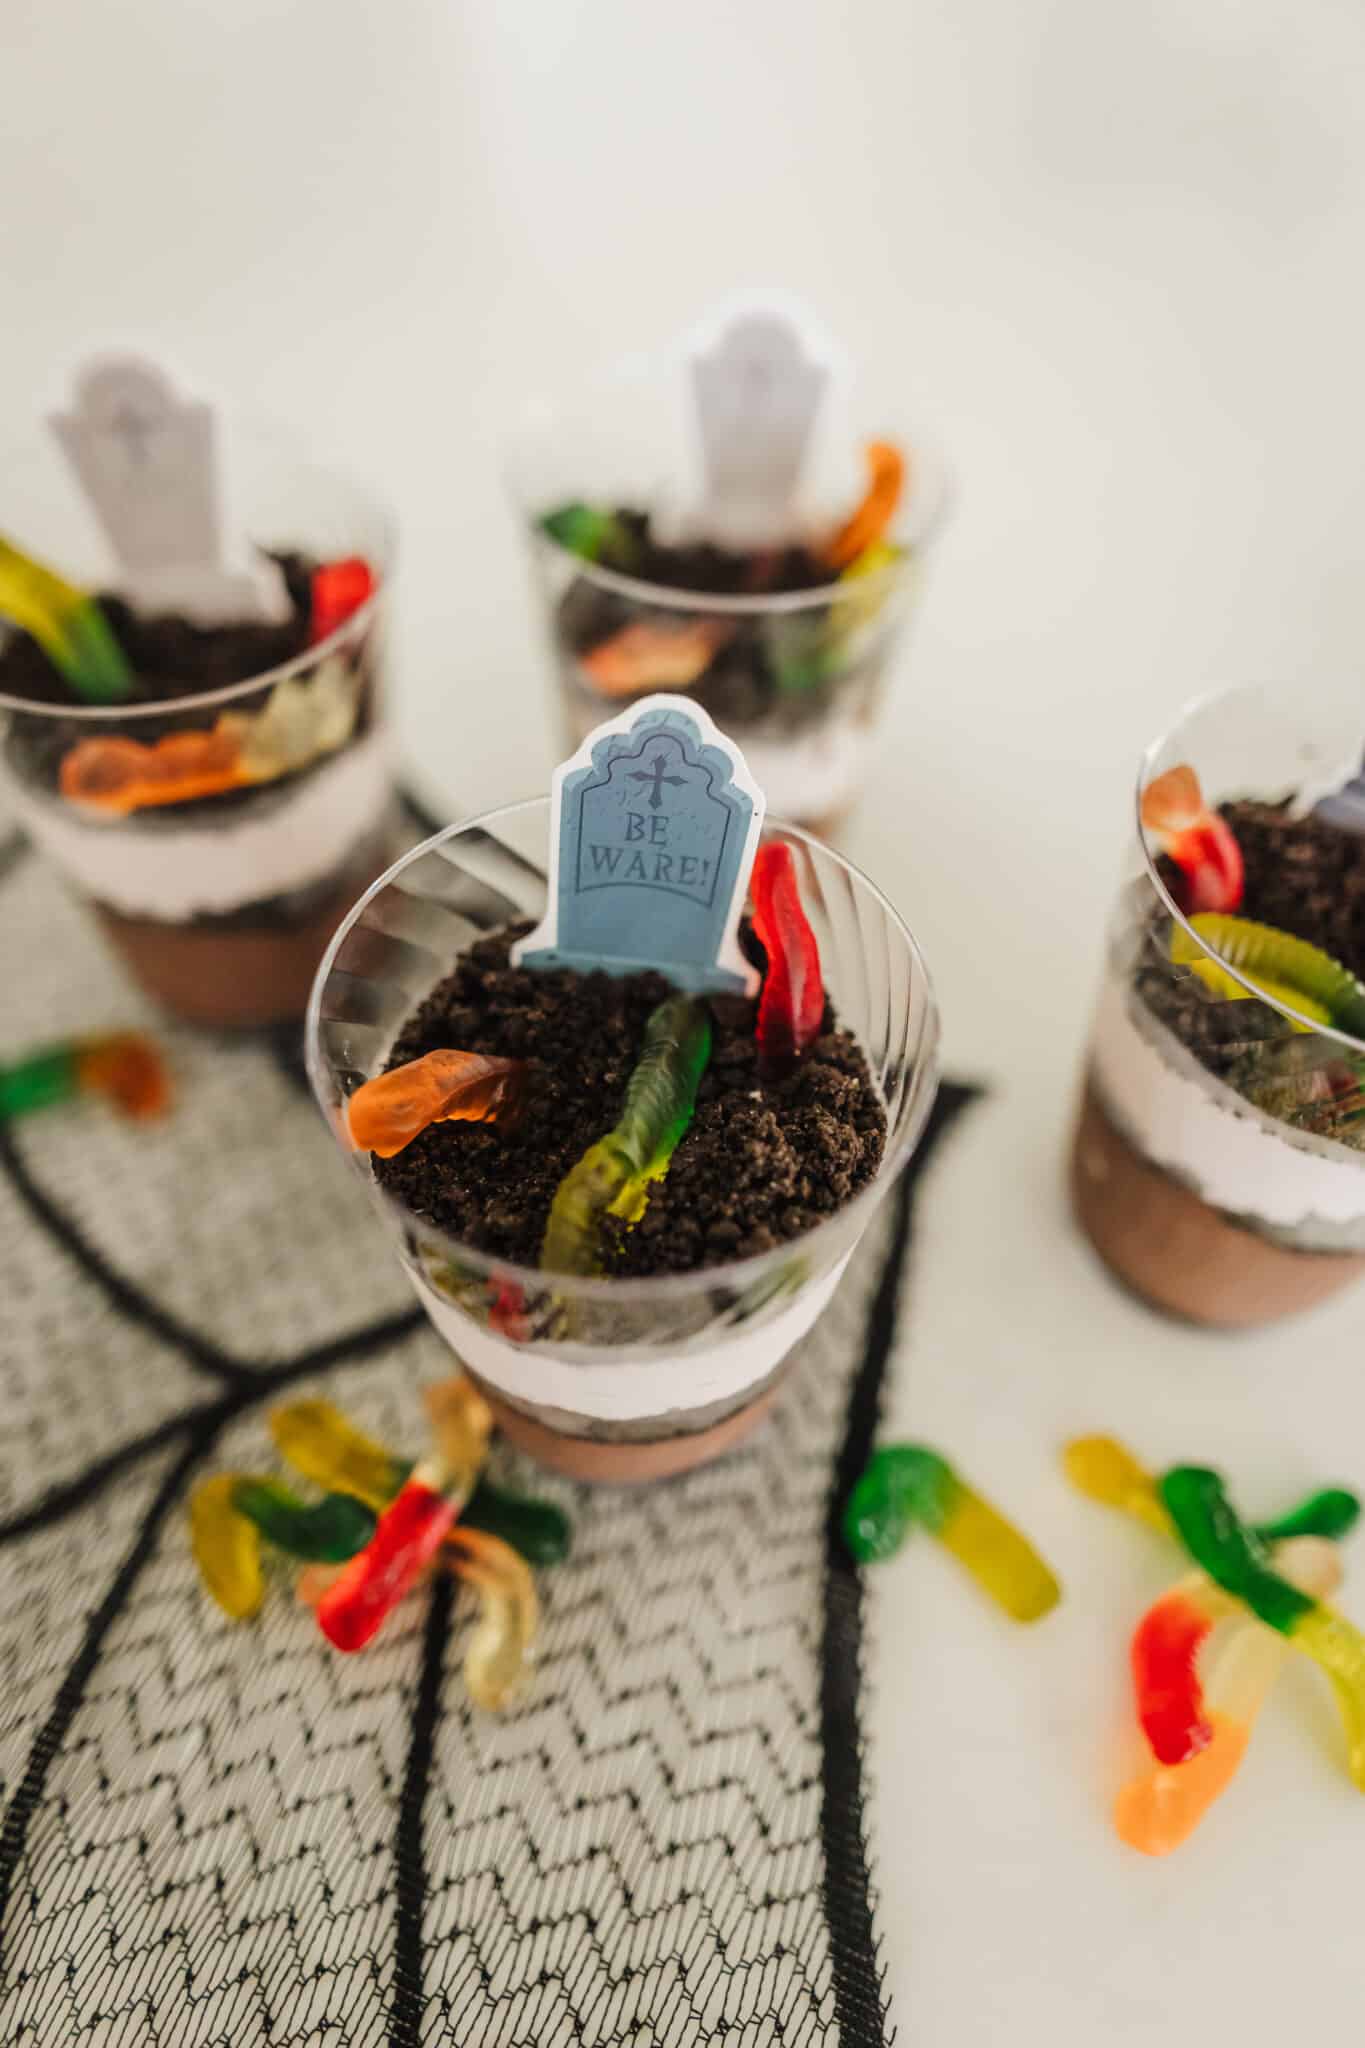
A great Halloween treat perfect for your next Halloween party is these fun Halloween dirt cups that are so easy to make! The classic dirt pudding recipe gets a slight makeover into graveyard pudding cups that are fun treats kids and adults alike adore!
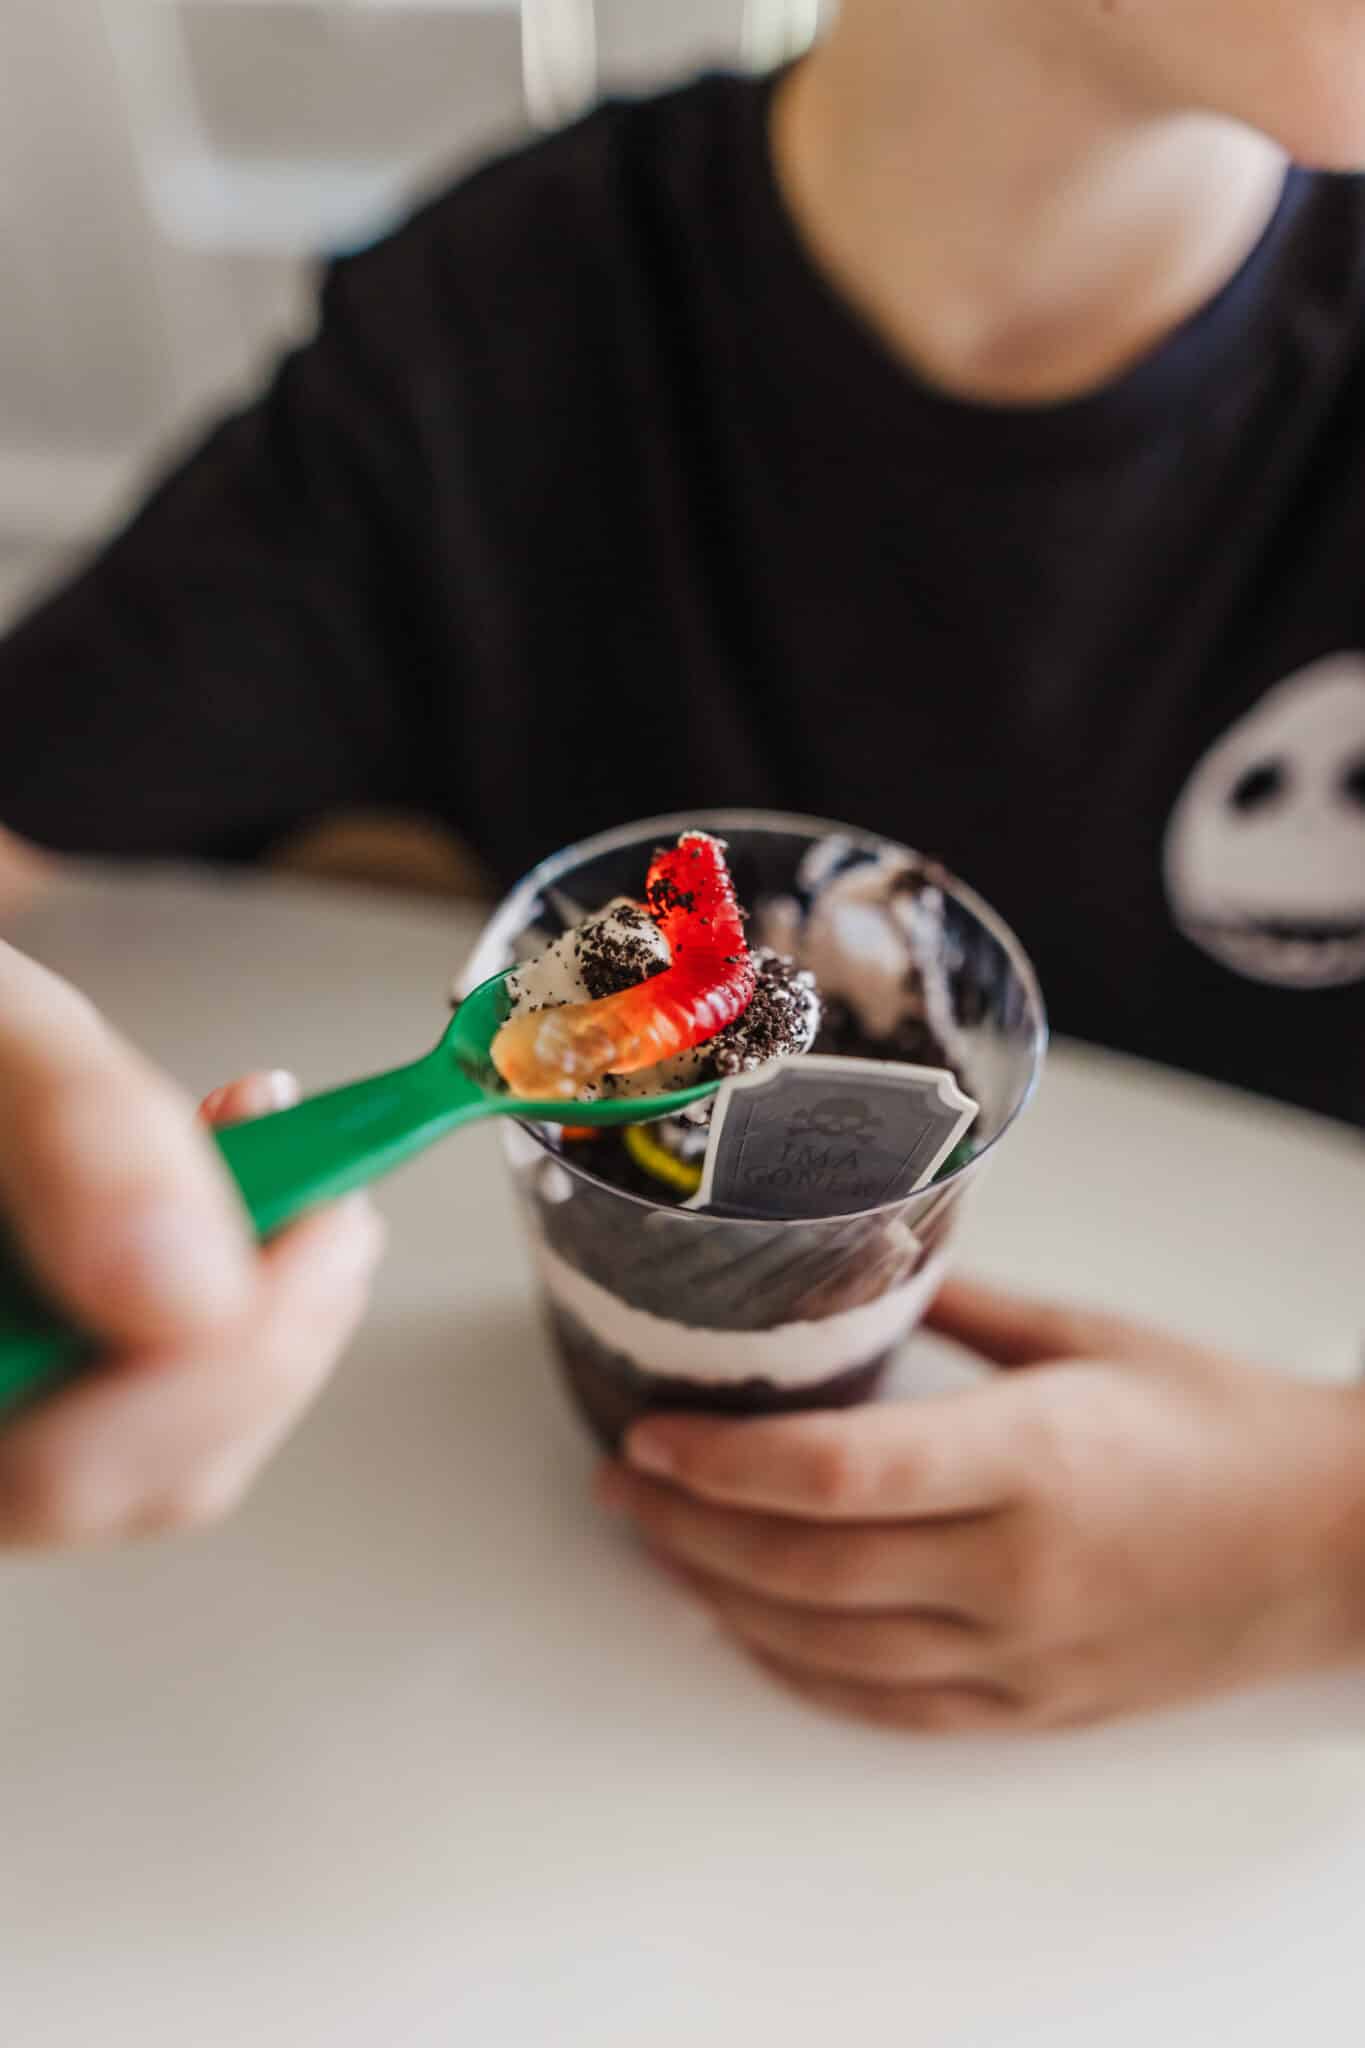
Here’s how to make this easy dessert with only 4 ingredients!
Dirt Pudding Recipe
Dirt Pudding Cups Recipes
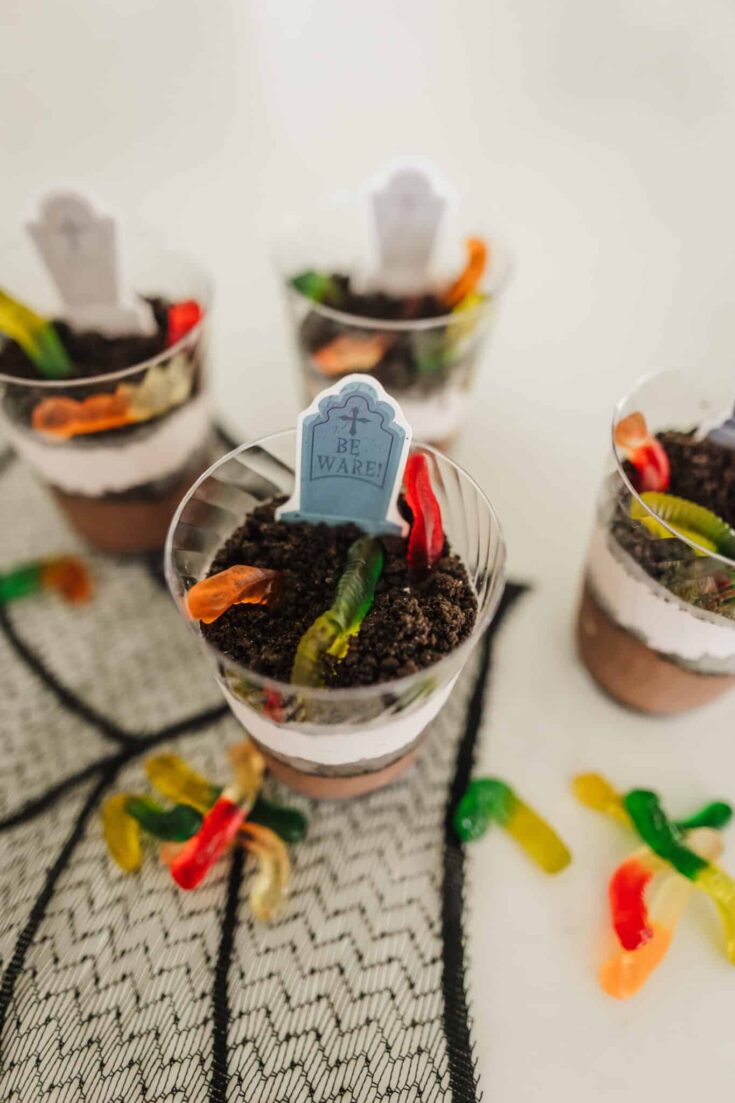
These Halloween dirt cups are so easy to whip together using instant pudding, milk, Cool Whip, and Oreo cookies! They're a spooky fun Halloween dessert that's always a spooky fun time!
Ingredients
- 1 Package Oreo Cookies
- 1 Package Chocolate Instant Pudding Mix (5.9 oz) *see notes
- 3 cups whole milk, cold
- 1 8 oz container of cool whip *see notes
- Gummy worms for decorating * see notes
- Graveyard cupcake toppers *see notes
Instructions
- Assemble your ingredients.
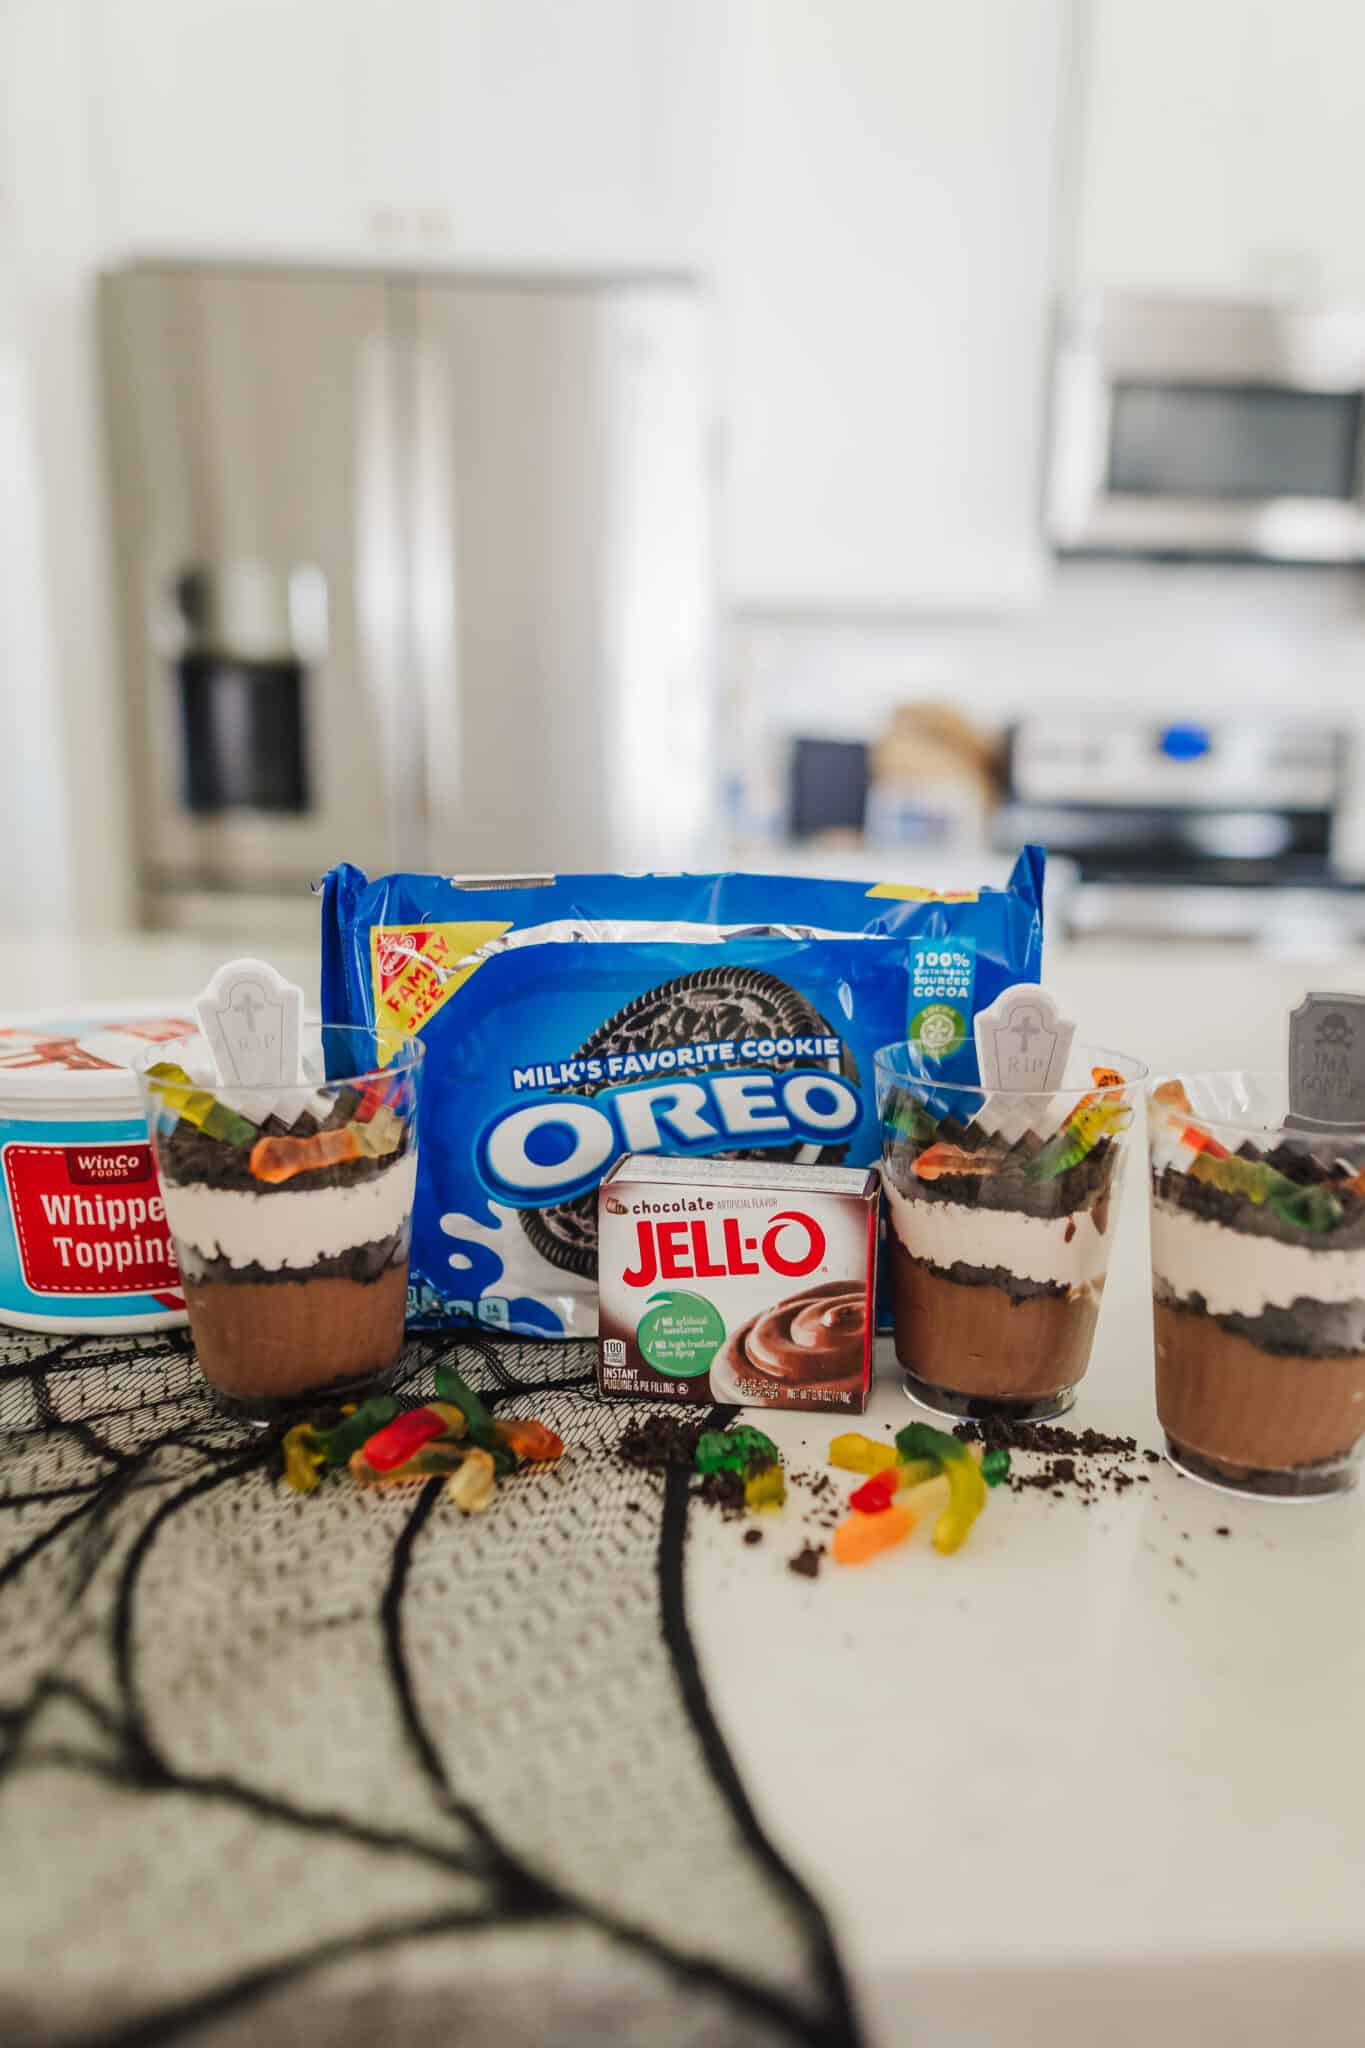
- Use a food processor to crush Oreos into cookie crumbs. You can also place Oreos in a sealed bag and crush with a rolling pin if you don't have a food processor. The goal is to get finely crushed Oreo crumbs.
- In a separate large bowl, prepare the Instant chocolate pudding mix with the milk according to the instructions. Make sure to whisk the lumps away before you chill. Chill for at least 10-15 minutes to help the pudding set.
- Remove one tablespoon of pudding and fold it into the whipped topping. This helps with the dirt color.
- Assemble the Oreo dirt cups in small clear plastic cups.
- To assemble, place 1 small spoonful of Oreo crumbs in the bottom of the cup. Then add a few scoops of the pudding layers, and smooth with a spoon. Add another thin layer of your crushed Oreo crumbs, followed by the whipped cream pudding mix. Just make sure to end with a layer of Oreo crumbs on top and you should be set!
- Decorate the top of the dirt cups with worms, tombstones, or any other candy you've planned for your Halloween dirt pudding cups.
- Store in the fridge until ready to serve.
Notes
- Pudding: Feel free to use vanilla pudding instead of chocolate. Chocolate gives that deep dirt look, but any pudding mixture you prefer will work too.
- You can easily substitute in real whipped cream instead of Cool whip. Also, if you want a creamier texture you can add 4 oz of cream cheese to the whipped topping.
- Worm toppings are only the beginning! Let your imagination soar by decorating with other gummies, sprinkles, candy eyeballs, candy bones, adding candy pumpkins, or using Peeps ghosts. A graveyard scene with tombstones using cupcake toppers or Milano cookies (with RIP piped on) as tombstone cookies are a popular topping as well.
- We recommend using smaller cups. A little bit goes a long way, and Halloween graveyard dirt cups can be a little rich for many palates.
Recommended Products
As an Amazon Associate and member of other affiliate programs, I earn from qualifying purchases.
Nutrition Information:
Yield:
6Serving Size:
1Amount Per Serving: Calories: 332Total Fat: 17gSaturated Fat: 12gTrans Fat: 0gUnsaturated Fat: 4gCholesterol: 17mgSodium: 187mgCarbohydrates: 40gFiber: 0gSugar: 29gProtein: 6g
This is one of our favorite Halloween desserts that we love making ahead! Kids adore these for Halloween parties, and they’re always a fun spooky treat you can make without baking!
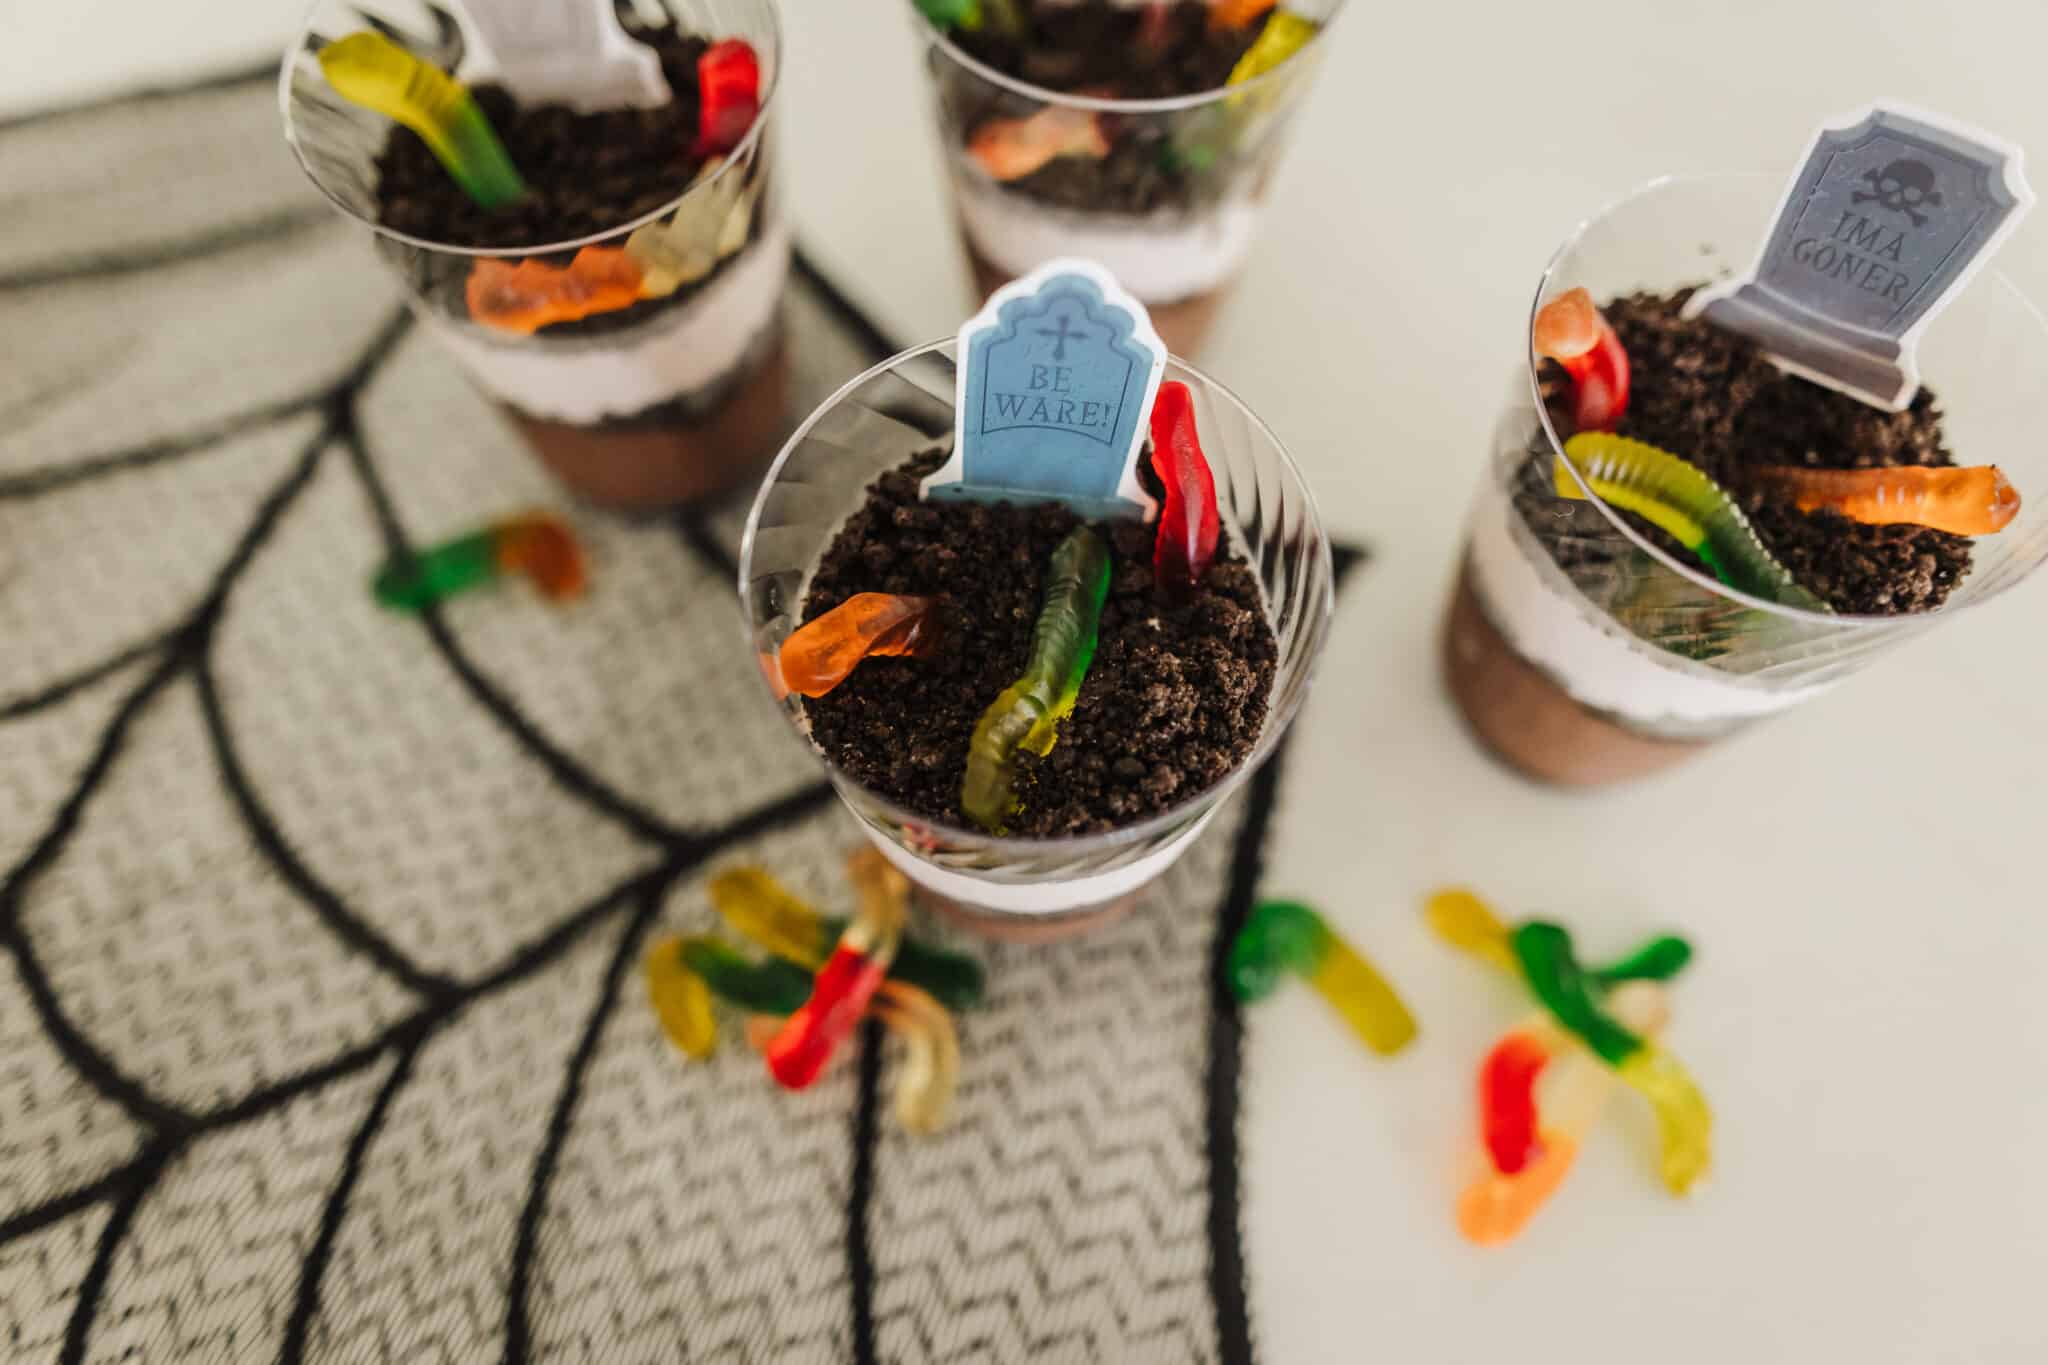
Dirt Pudding Cups Frequently Asked Questions
The foundation is crushed chocolate cookies and pudding. Whipped topping, and gummy worms are also added to make a dirt cup.
Dirt pudding cups typically last 2-3 days.
I’d recommend making them the day before you are serving them, and waiting to top them with cookies or worms until the day of. You could technically make them up to 3 days in advance and still have a good consistency.

